14 Jul 2010

Colour Relationships - part 2

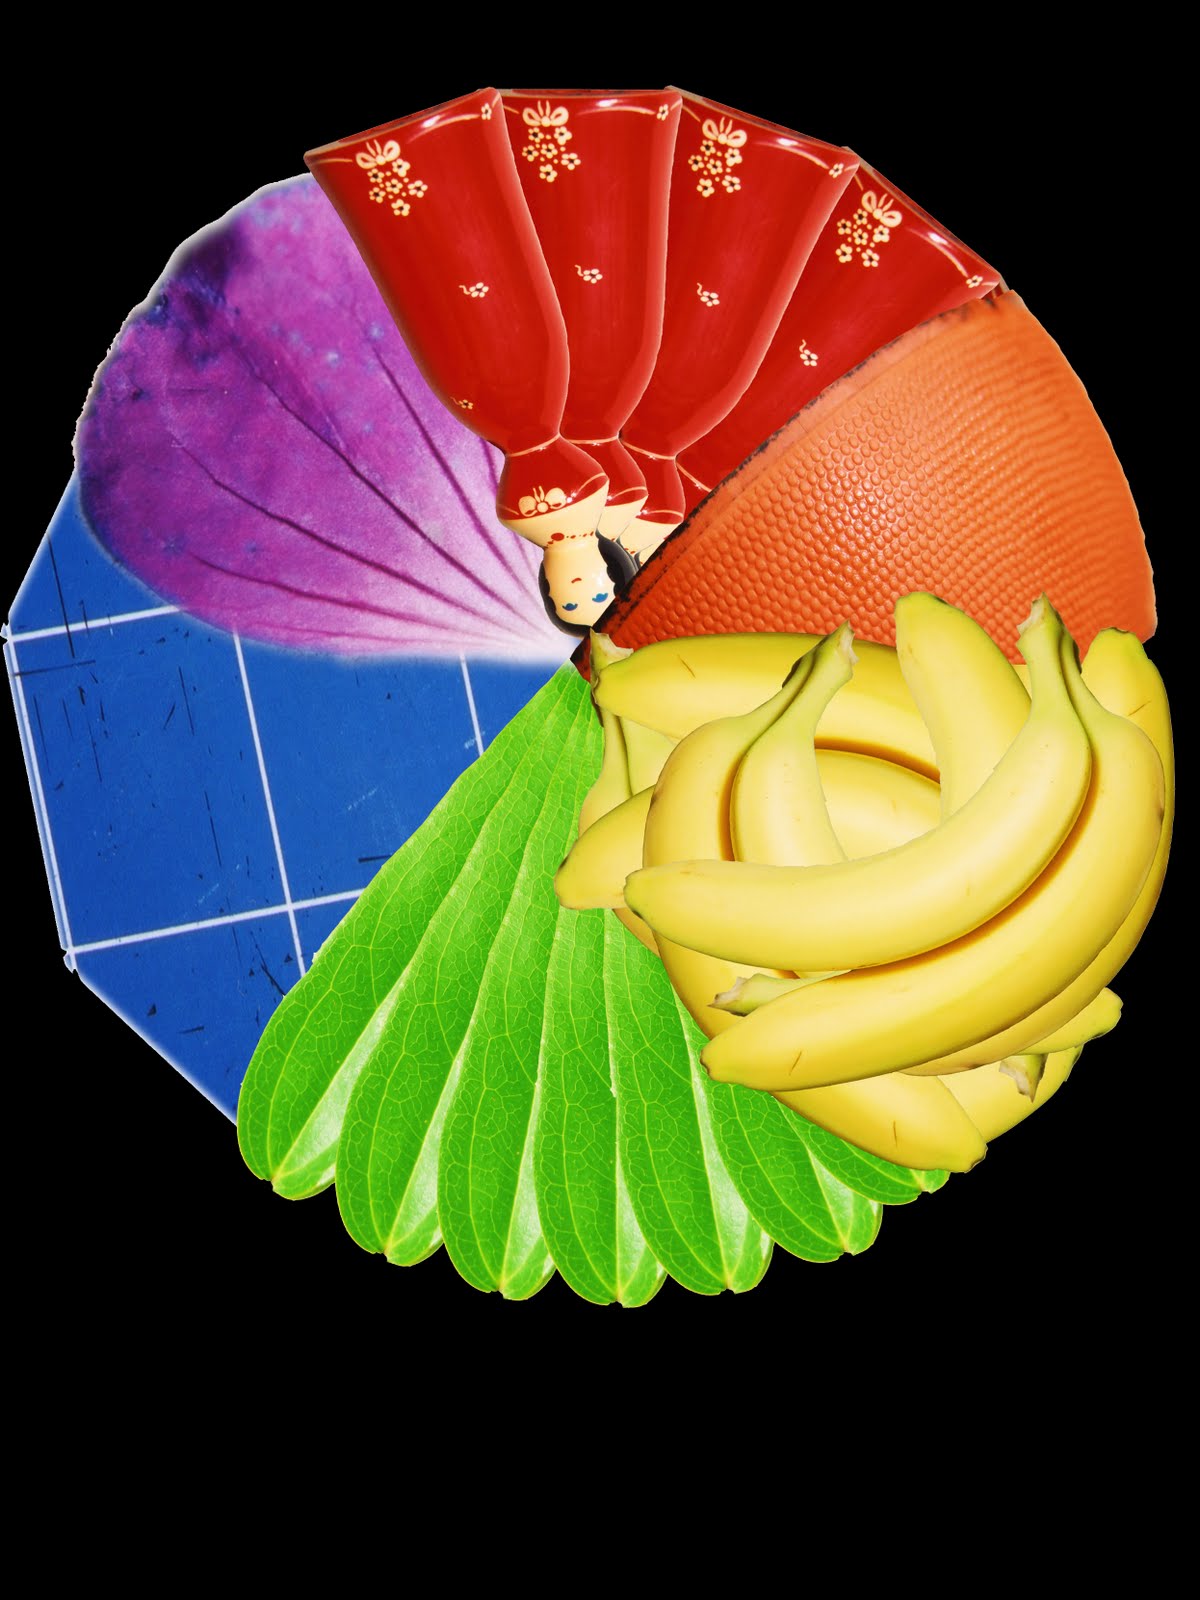
Having been constrained by the difficult task of shooting photographs that comply with Gothe's colour relationship theory we have now been tasked with shooting 3 or 4 photographs that demonstrate how images that don't comply can also be 'correct'.

As an aside, this isn't the first set of 'rules' we have learned, only then to be asked to break them!  In photography, I am increasingly aware that complying to a set of acknowledged conventions is the safe path to a good picture but many brilliant photographs are achieved by breaking those conventions.  Only by learning the rules, however, can we understand what we have achieved when we deliberately go out to defy them.


This first image was taken in Shanghai, China.  The Chinese seem to have a love for large blocks of primary colour in their architecture.  They have huge estates of houses all with brilliant red roofs and then next door is a similar estate all with bright blue roofs.  It seems to be a crude use of colour and reflects an overbearing authority that dictates, rather than allowing personal choice.  Here is a classic stark orange entrance hall to a block of offices that is surrounded by a bright blue wall.  Orange is a very dominant colour and would normally appear in a smaller ratio to blue than I have shown here but I like the way it takes centre stage in the image, overpowering the blue wall although the wall is trying to hide it.  The appearance of the token tree has the effect of breaking up the line of orange and being on the centre line of the photograph adds to the symmetry.  Waiting for the girl to walk into the frame, however, has taken what might just as well have been a Lego block approach to photography and adds a little social commentary.  This is where people have to live!


This van was parked up in a New York street and is a mobile graffiti wall.  The colours look like a complete mishmash but when taking a closer look the artist has chosen 4 of the primary/secondary colours from the colour wheel and a 5th colour, green, is on the door.  Yellow and blue dominate in area and blue certainly takes the subordinate role of shadow to the bold yellow letters which is a good use for it in this context.  Red appears as a highlight to emphasise parts of the lettering and the whole area is lined with violet which acts surprisingly well in its task despite scoring the lowest on Goethe's numeric allocation.  I like the chaos of this image and the disreputable character who sits idly by, however even in chaos the colour has a purpose and a meaning.


These running shoes have three rather cute shades of violet and are surrounded by an expanse of orange.  Orange scores very high on Goethe's scale as an 8 whilst violet is only a 3.  Despite this I feel that the orange street and the advertising sign only help to emphasise the presence of the shoes.  This is partly due to the depth of field putting the background into blur and partly the lines created by the legs of the passer by.  This was no fluke as I needed those legs to add interest to an otherwise rather run-of-the-mill photograph.  It looks to me like the shoes are just waiting for those legs to walk into them and start running.  So despite the difference in colour emphasis, I feel that this combination has worked well.


I wanted to show that I am capable of taking photographs in this module that are more naturalistic and that not every shot had to include hues straight from the colour wheel.  Here is a pagoda in the gardens of a Japanese temple and the singing lady in the kimono is being accompanied by a man playing what is probably a kokyū, traditional 3 stringed instrument played with a bow.  That explained, the colours are a lovely combination of red and green, although the green is dominant in area.  This doesn't distract from the image as the red serves to highlight the performers and because of it's prominence in the centre of the image it holds its own well.  The splash of blue that the kimono gives also works well as although blue scores well below green/red the muted natural colours of the foliage give way to the more strident hue that the blue gives.  It works for me and I hope it works for you too.

13 Jul 2010

Colour Relationships - part 1

The opposite colours on a colour wheel are considered to balance each other in a harmonious pairing so that they look pleasing to the eye.  However, because the quality of the hues vary so much the proportions of each colour in a balanced picture should also vary.  For example, whilst Red and Green are considered to be equal in hue and should be present in the ratio 1:1, Yellow and Violet should appear in the ratio 1:3.  This is because a Yellow hue is considerably brighter and more dominant than Violet.  A balancing ratio for Orange and Blue is 1:2.  It was the German writer and polymath J W Goethe who first suggested that the hue of colours could be represented by numbers and therefore calculated the ideal ratios.  He made several reasoned conclusions about the relationships of colours which he published in his book The Theory of Colours.

This exercise asks for three photographs demonstrating the primary and secondary colours in pairs and in the correct ratio for balance.  Whilst it might appear at first glance that the proportions are a little skew, I have balanced those shades of colour that represent the correct hues and where light or exposure have changed the hues to a different shade I have ignored them in the calculation of the ratios.

Red and Green

Orange and Blue

Yellow and Violet

9 Jul 2010

Primary and Secondary colours

I think I made my point earlier about the differences between how colour is displayed and perceived.  The colour wheel that we have been given is probably not what Michel Freeman had in mind when he wrote the notes but more what the printer was able to achieve at a cost.  How we see colour depends on many factors and even if the exact shade is achieved it will look different to the eye depending on what kind of light is present.  Natural sunlight in the morning tints everything we see quite differently from midday and the evening and the presence of cloud or reflected light will alter things further.  Artificial light has its problems as well by casting differing effects depending on the type of bulb.

The camera adds its own complications as what it sees is restricted by the limitations of the technology and the manipulations that the manufacturer adds when converting the sensor's view of the world into something that we can see.  Add to that the changes that can occur when we finally display or print the colours and I think we are lucky to be able to recognise red from green... I won't even start on the differences of human perception and how our eyes and brains can deceive us.

So our colour wheel isn't the same as a pure screen colour that Photoshop (the circles of colour inlaid) produces as we can see below.
 And the colours above aren't quite the same as the professional colour checker that I photographed a couple of minutes ago either.  This is because of the variables that I mentioned earlier.  Any one of many factors might cause a change but comparing it to RGB colours above the only one I would really question is the green which is a livid lime green according to the RGB settings, a darker green on the colour wheel and a lighter but more blue-green on the colour checker.

The point I am making here is that my attempts to match colours for this exercise have been coloured (please excuse the pun) by my realisation that it is beyond the wit of a mere mortal to make an entirely accurate match.  Not only do our eyes deceive us but so does the camera, the sun and the way we view the results.  What you are seeing on your screen is probably not exactly what I am seeing and unless we all decide to meet in a laboratory to look at these results you are going to have to trust me! 

We might all just as well use this colour wheel I made a few years back for another course!

So with no more ado or excuses I publish my colour pallet.

Yellow

Orange

Red

Violet

Blue

Green


Of course no one scene can easily demonstrate a single shade of colour.  All the images above show a variety of differing shades of the main colour, some more than others but in there somewhere is going to be an exact match for the correct colour.

I have to say that in my earlier attempts to do this exercise I tried to stick too close to the brief and ended up shooting in circles.  I also realised that in nature it is just about impossible to isolate a particular colour without resorting to macro photography and I didn't want to go there. I think the point was to get me out there looking and appreciating colours whilst trying to educate my brain in the basic hues to give me a starting block to build on.  I have no regrets about shooting mainly man made colours... they all started off in nature as crushed plants or beetles and if you want pure colours there are few other places to find them.


Back to work

Ok... things have quietened down a bit and I have an extension from my tutor so I am getting back to work as time allows.  Summer is silly season and work tends to go through the roof so the time I can allocate to less remunerative pastimes becomes smaller.  Study time comes under the law of diminishing returns and according to my wife, my employer, my children and my dogs (in that order) my free time comes last in the list.

11 Jun 2010

Frustration!

Wow I am getting myself down in the dumps at the moment.  I am trying to shoot the exercises for primary/secondary colours as well as the colour relationships exercise and am banging my head against a brick wall here!

The colour wheel in my course notes isn't even close to the actual colour that I get when I set the correct RGB settings for a colour in Photoshop.  So I have been wandering around with my notes and visually matching a scene to the printed colour wheel only to come back to my computer to find out it is way off.  The printed colours are much more muted than is achieved on screen and has skewed my assessment and wasted so much of my time.

I thought that I had most of these exercises in the bag but now I am going to have to get out and do it all again.

This is a great example of how hard it is to match printed work to actual colours but I would have thought our course notes might be printed with a bit more care.

So here is our colour wheel photographed and then screen matched for colour so that the colours are as exact as I can achieve visually.  Although the paper looks a bit grey I can assure you that the match is good.  Then I have pasted in circles of the correct RGB setting for the actual colours.  Take a look for yourselves!


The actual colours are so dull when compared with the correct screen colours it makes using this colour wheel in the field a waste of time.  So, I am going to look for a commercial colour wheel to take around with me to see if I can get a better match for my next effort... *&%$£ @+%£**!

9 Jun 2010

Exercise: Control the strength of a colour

This exercise required 5 photographs taken with varying exposures of a block of strong colour showing the effect that changes in exposure have on the colour.  The task asks for shots to be taken at ½ stop intervals of increasing light and since my camera defaults to ⅓ stop settings I went into the custom menu settings to change this.  I also shot a couple of extra images at +/- 1½ for a better look at the effects.

Starting at -1½ stops the images go through the correct exposure to +1½ stops.

-1½ stops
 
 -1 stop

 -½ stop

OE (On Exposure)

+½ stop

+1 stop

+1½ stops

The shots shows a nice combination of textures and colour as well as shadowed and sunlit areas that allow us to notice the difference direct sunlight has on the shots.  The camera has done an excellent job of evaluating the correct exposure for the OE shot, despite the differences in light quality.  Our brief mentions the obvious difference that the changes of exposure have on the brightness of the images so I will restrict my comments to the changes in colour.

The first and most obvious difference is the change to the saturation of the colours.  The more underexposed the shot the more saturated the colours look and as the images move to over exposure the colours become more washed out and bleached.  I can measure the difference by using the eye dropper in Photoshop and take an RGB reading from the photographs.  The sunlit green goes from 70 at -1½ stops through 130 at OE to 160 at +1½ stop.  Visually this change can be seen as a move from a deep and luxuriously dark green to a delicate and pale green.

The exposure had made differences to the actual colour, as well as it's saturation.  Take the photos to a paint mixer and you would end up with completely different paint mixes to match each photo.  The shades of green also vary considerably within each photo depending on the quality of the light falling on different sections and the amount of light reflection that occurs with the different angels we can see.

From a personal point of view I have always liked the quality of slide film and in particular the E6 film, Fuji Velvia.  This film always had great colour saturation and using it over the years I got into the habit of shooting at -½ stops to enhance that look of strong, well saturated colours.  I still tend to shoot at -½ stop, particularly on a bright day when direct sunlight can rob the colour from a scene, partly to keep the colour saturation high but also to prevent accidental overexposure of bright areas.  I find it a lot easier to bring up underexposed areas of an image in Photoshop that attempt to recover detail from a blown patch.

Bit of a break

Ok... work, a bit of a holiday and some builders around the place have conspired to get in the way of my photography but I have at least been shooting some of my stuff for the next module, Colour.

So onwards and upwards!

12 May 2010

Colour Calibration

Domestic trivia is the death of such free time as an amateur photographer has.  A new central heating boiler, a car in the garage with 2 out of 3 engine bolts sheared off and various other distractions have been on the menu recently.  So work on Part 3 has been sketchy/non existent.  I have managed to read most of the study book and it is all making a bit of sense but I am not completely on the right wavelength yet (spectrum joke)!

My professional knowledge of the electromagnetic spectrum has given me a basic understanding of how we perceive light and how it behaves but the terminology of hue, saturation, brightness, complementary colours etc. are all areas where I can afford to learn a great deal more.  I am obviously concerned that whilst I need to calibrate my mind to these new concepts I would also have to ensure that my equipment was providing a standard output so that my tutor and assessor can see what I see.

To help me I sought the advice of some friendly professional photographers, Michel Focard de Fontefiguieres and Chris Pearsall and have now acquired a Spyder monitor calibration device.  Chris was kind enough to give up some of his precious time to come round this afternoon and help me to go through the first few calibrations to get my monitors set up correctly.  Michel is lucky enough to have done enough colour calibration throughout his life to educate his eye to a level that allows him to do without.

Chris' help was also invaluable in ensuring that I was using the same colour system throughout all my equipment.  I now have my cameras, Photoshop and my monitors all working to Adobe RGB (1998) so at least they are all talking apples and not apples, pears and bananas.  So I now have both of my monitors calibrated and I have been able to notice a distinct change from the previously overly yellow/green images when compared to my new set up.  I have also noted a change in the subtlety of the greys that reveal a lot more information in the shadows and highlights in my pictures.

The system I have chosen is the Spyder 3 which hangs over the top of the monitors during calibration and then sits near them facing me when I am working so that it can measure ambient light around the screens.  Just working through the set up has given me an education in itself and it all helps to expand my knowledge base.

28 Apr 2010

Assignment 2 tutor feedback

My tutor must have been champing at the bit to get his hands on my work as it was assessed and back in less than 24 hours, thanks.  So what can I say... my hopes were realised and my fears came true!

Firstly I asked a few questions and they were kindly answered, in that YES it is better to stick to the required number of shots and not put in additional images as it is important to show that one can stick to the brief.  The choice of subject is also important so that there is both variety and a visual link to tie the shots together.

Good comments were made on the assignment as a whole collection and the Mail Boxes in particular.  I was complemented on an ability to look beyond the surface of a location and find interesting details in a place.  There was certainly no criticism of any particular shot so I take that as a positive point.

This is a learning experience and I was glad to receive a number of points on ways I can improve my skills.  It was mentioned that the assignment is about conveying a sense of a particular place and most of my images were too generic to fulfil that need.  I should have tried to convey more of the cities individuality.  I don't feel that the brief made this quite clear enough and I was approaching the task from a more practical direction, whilst still trying to produce pictures of technical and aesthetic quality however, I see now that hadn't quite gone the extra mile.

My blog included some of my editing rejects and, as I feared, my tutor thought that some of my assignment choices weren't the best on offer.  This is an area that I find difficult.  To give an example: I chose a chain and padlock as an example of an implied triangle...
     ... whereas it was thought that a couple shots that I rejected (the Grace building and the girls being sketched) had better qualities. 
The reasons I rejected these are in my blog but I must now reconsider my thoughts.  Although I really liked the Grace building I felt that it was too much like a real triangle and not an implied triangle. I must work through my notes to see why I made this error or perhaps the quality of the shot overrides the doubts I had on the graphic design feature I was trying to illustrate.  The picture of the girls was one that I was excited about as I was shooting it and I always felt it was going to be an interesting image... I just didn't like the expressions that I captured.  This obviously wasn't a strong enough objection.

Finally, it was mentioned again how important it was to reference my work against other photographers and to see as many exhibitions and shows as possible to widen my knowledge base as it is a really important aspect of the formal assessment.

So how do I feel about this one.  I guess I feel that I should trust my instincts and try to pick the shots that I really like and not the ones I think will please someone else or better match a brief.  I do have a tendency to come back to a portfolio again and again to re-examine my choices and perhaps I should just go with my first gut feelings?  

Still, I am now reading up on the next module and although I am going to start shooting the exercises soon I am going to ponder on this work and try to think through my concerns.  Wish me luck!

27 Apr 2010

Assignment 2 - Elements of Design

After an unwelcome delay overseas waiting for the Icelandic volcano to quieten down I am now able to publish Assignment 2, Elements of Design.

The photographs can be viewed on my Assignments web site here:

http://nicksoca.webs.com/photography1/artofphotography/designelements/designelements.htm


Assembling the Photographs


Although I had an unfortunately extended period to shoot this assignment I only had a short time to edit and publish it and with a fairly large volume of shots to assess I ended up having to do some fairly radical editing.  I thought it might be useful to post some of the discards and review my thoughts on why I didn't use them.


This view of an office block was one I considered for diagonals.  I liked the patterns within the shot and the details inside each box.  The face of the building showed nice and light against the shadowed interiors.  So nothing wrong with it but I felt that it was yet another very symmetrical box pattern and too similar to the shot I used for verticals & horizontals so left it out.


This shot was going to be one of my implied triangles but even having worked on it to the extent that you see above I wasn't able to get the results I wanted.  I was pleased enough with the framing but I just hadn't managed to capture enough expression on the faces of the ladies being sketched and I felt that the whole image lacked punch and contrast.  Every time I tried to improve one aspect of the shot another was lost, particularly the eyes of the lady to the right.


This shot appealed to me enormously when I was taking it and I worked hard to get the focus point and exposure on the reflected building just right.  I was going to use it as an example of horizontals & verticals but in retrospect it had a few problems I couldn't resolve.  I felt the image was just too confusing for someone seeing it for the first time, the lines weren't truly vertical or horizontal and the litter covered a bit too much of the image.  However, it is still one of my favourite images.


This shot of the Grace building was also one of my favourites and I was going to use it as an implied triangle.  The image has one of those 'frozen in time' effects on me with the stark tree and walking man against the white of the building.  I also liked the twist that the building has to perform to show the front as well as the side.  The reason that this fell to the cutting floor was that I realised it was a real triangle and not an implied one as the brief called for.


This was a hard decision and I am hoping from some feedback on my choice from my tutor HINT HINT.  This I felt was a good contender for an implied triangle, a person reading a book under the Walgreens sign.  Firstly I wasn't sure that the relationship between the dominant parts of the shot, the person and the sign, was strong enough to properly suggest a triangle.  Secondly, it would have been the 11th photograph of my set and I wasn't sure if it would have been pushing my luck to include it.  By including extra photographs can we be awarded more marks or do we just take the risk of bringing our grading down?  I would love to know.


 I had points in a deliberate shape in mind here.  I liked the whole look of the image taken down from a high building into a hotel swimming pool area.  I would have liked at least one person in the shot but that wasn't a real necessity.  My main problem with the image was the shape that the points were trying to make (what was it) and did it really qualify under the subject I chose of 'Street Detail'?  I wasn't convinced.


The bright colours of this street sign attracted me and I felt that this might be a good distinct shape.  It has many of the attributes of the image that I finally used and even now I'm not certain which I prefer... dreadful indecision!


This grid around a tree trunk was one I thought of for a pattern but it could equally have been used for curves.  Because I felt it didn't truly fall into one category or another I wasn't sure if it was a good idea to use it or the 'element of design' I was trying to represent then becomes defined by the title and not the photograph.


I used exactly the same view of these lamps as my points in a shape but took the image at night.  Although I liked this view and the reflections of the rising sun and the streets in the glass when I took the image up in size I started seeing jpeg artefacts in the clear blue which spoilt the image for me.  I felt it was also nice to include a night shot in the assessment batch for some variety.


This shot through a glazed roof was on my list for diagonals but I already had a couple of strong contenders and thought the predominance of vertical lines in the building behind detracted from the diagonals created by the roof in the foreground (which wasn't quite as sharp as I would have liked anyway).  Had I focussed on the foreground and shortened my depth of field to throw the background into a slight blur it would have worked a little better.

    
Guess what... another triangle that was real instead of implied.  I must READ the brief better!  Still I liked the image, taken in Grand Central Station, particularly as the overhead lights and the yellow strip help to delineate the perspective triangle that the train creates.


This old bike on the streets of New York was one of the images I wanted to use for curves.  Getting in close to the steel pipe of the bike stand helped bring it into dominance as did controlling my depth of field to give the bike a little blur.  I like the shot a lot but definitely preferred my chosen image of the mail boxes. 

-----------------

I always have doubts about my choices of photographs and find it much easier picking holes in other peoples work.  I also find that there are as many opinions about the merits of an image as there are people to ask but we do the best we can and hope  ;-) 

18 Apr 2010

Stuck in Boston

I came out here for a one-night stop flight and am still here after 4 nights with more to come... running out of clean clothes fast.  The volcano that has shut UK and much of the European airspace has grounded me here but at least it is better than being the crew in Lagos!  I have shot the last couple of images for Assignment 2 and was going to pick and publish my final choice on my return but everything is on hold at the moment.  This is very frustrating.

I haven't wasted my time having filled 12 Gigs of cards and worn out almost all of my batteries but the weather is now wet and very cold so not much motivation to do more photography at the moment.  All I can do is save something to shoot the Boston Marathon tomorrow as it might be a great subject.

So Assignment 2 is going to be late... sigh. 

 UPDATE
Back home after a 9 day trip and I think I have enough for Assignment 2 now.  I have to buckle down and assemble my shots but there are a few forest fires to put out at home first.

6 Apr 2010

Exercise: Pattern and Rhythm

For this final exercise in Elements of Design we were asked to shoot 2 photographs, one demonstrating Rhythm and the other Pattern.  The difference between the two is an interesting process of understanding that took me a while to get my head around.  A pattern is a repeating element that allows the eye to move around the image at random whereas with rhythm the image asks the eye to follow a particular path.

Walking the streets of New York I was looking for these elements in my surrounds whilst also thinking ahead to the second assignment that will be needed very soon.  I thought back to an exhibition I mentioned in a previous post at the Met and an example of the work of Miles Coolidge who had photographed a slab of concrete in LA.  I had been fascinated by the patterns present in this very ordinary object and wondered if I could see an opportunity to do a similar image for this exercise.

Pattern
  1/400, f11.0, 50mm, ISO400

Chewing gum is a national pastime in the USA and the remnants litter every street in the country.  The old black spots contrast a couple of newly masticated globs which break the pattern with a little colour, as does the discarded sweet packet.  The pavement line also breaks the image up into two sections but the pattern is repeated in both.

A retrospective look at my chewing gum had given me second thoughts.  When viewed at a suitably large scale the image has considerably more interest than can be seen here so I have decided to include a second, alternative pattern image below.

Pattern 
 1/160, f6.3, 60mm, ISO1250

The chandelier is in the Vanderbilt room of Grand Central Station, NY.  An unusually flamboyant addition to a railway station it provided a nice example of a pattern.  Although the lights do lie in a less than random way a tight crop has removed the regularity and added a feeling of curiosity that the pavement image lacked.
  

Rhythm
  1/200, f9.0, 47mm, ISO400 

Here the repeating lines of red chairs initially caught my attention but standing back a bit I could see that there was more to the shot than just the chairs as the colour became the rhythm that took my eye rather than just the shapes.  I found myself looking along the chair backs across the pile of chairs above to the line of folded umbrellas in the rhythm that I was looking for.  In addition, the shapes were mirrored by the buildings of Time Square in the back ground and the addition of the red bus helped take my eye from the foreground to that background.  I trust it does the same for other viewers? 

This exercise completes my work for Design Elements and I must now concentrate on assembling the images I need for Assignment 2, due in a week or so. 

27 Mar 2010

Exercise: Real and implied triangles

Shapes form one of the building blocks of graphic design and the simplest and most common shape is the triangle.  Any three points can create a triangle so they exist many times over in almost any view.  Triangles can be seen in many forms or they can be created by perspective, enhanced by the use of short focal length (wide angle) lenses.

This exercise asks us to produce 6 photographs to demonstrate real and implied triangles.  Firstly we are required to shoot a triangular subject and then two perspective triangles, one pointing up and one pointing down.

  
My first is a triangular subject which I found in the form of a monument to the Korean War in Washington DC.  The soldiers depicted are in an open triangular formation leading away from the viewer and although this isn't a solid triangle I felt it was more interesting than many other examples that I had to hand.  Perspective has helped to create the depth of the triangle but it is not required to create the shape itself.


My triangle pointing up is the Reflecting Pool to the Washington memorial in Washington DC.  The shape of the pool creates a perspective triangle which is nicely completed by the needle shape of the Washington memorial in the distance.


My triangle pointing down is the vaulted roof of Grand Central station in New York.  At first it was hard to work out just how to create an inverted perspective triangle since most of the time they occur looking away to the horizon or up at a building.  I just had to work out that to get the reverse I would have to be looking down a tall building or at retreating parallels that were above the horizon to get a down pointing triangle.
For the implied triangle portion of the exercise we were asked to shoot 5 or 6 objects that create a triangle shape as a still life.


My triangle with the apex at the top is made of a pile of weights that sit on an old fashioned set of scales.  The frame of the scales nicely frame the weights with their reflection in the pan coming to a convenient point.

Six screws provide the triangle apex down and I was able to reproduce the triangle twice with both the tips and bases of the screws giving rise to the shape.

The final part of the exercise was to photograph 3 people so that they formed a triangle.


These 3 guys who form part of a metal band were kind enough to pose for me and their relative heights gave rise to the triangle of faces, helped by my shooting from above their eye level.  For inspiration I thought of the work of the English photographer Mick Rock who photographed many of the most famous bands in the 70's including Pink Floyd, Ziggy Stardust and Queen whose iconic photograph for Bohemian Rhapsody used high lighting and a black background to isolate and emphasise the musicians faces.  Mick is still very active after three decades and recently photographed REM, the Foo Fighters and the Motley Crew.